In this post we will see step by step how to create a Lightning component to display records in tabular fashion. Let’s say we have a custom object called Bank, We want to show all records of Bank object to the user.
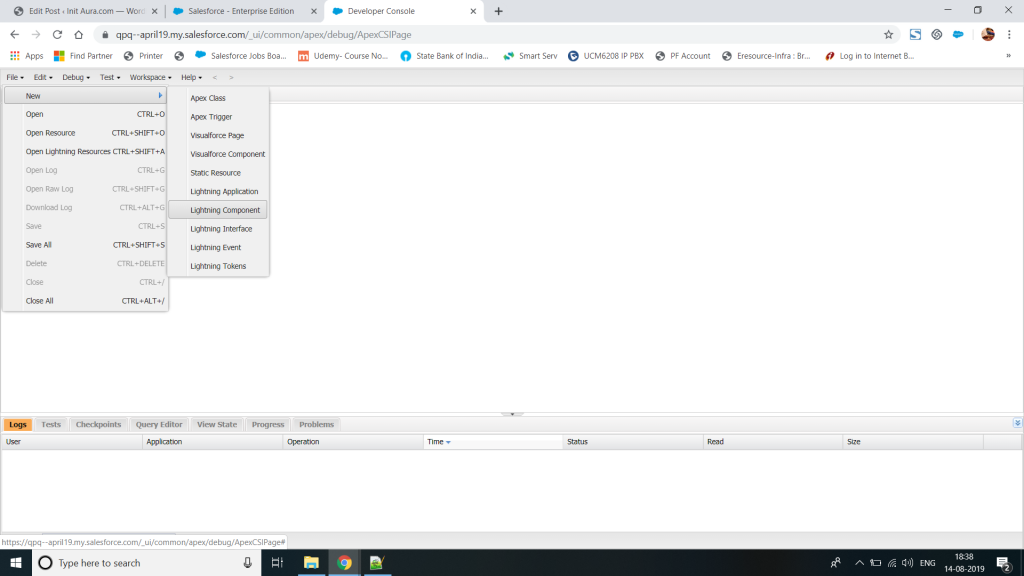
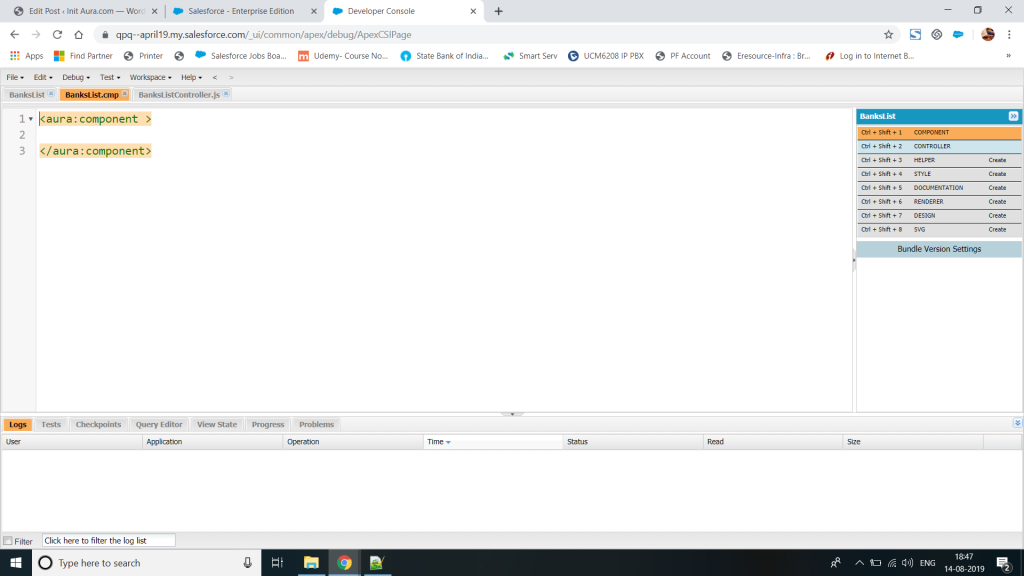
1. Open Developer Console and create new Lightning Component called BanksList. Add the following code to BanksList.cmp
<aura:component controller="BankController" implements="force:hasRecordId,force:appHostable,flexipage:availableForAllPageTypes" access="global">
<!-- List to store banks data -->
<aura:attribute name="Banks" type="List" />
<!-- Initialization method calls controller to get data -->
<aura:handler name="init" value="{!this}" action="{!c.doInit}" /><div class="slds-col"/>

<!--tabular data -->

<table class="slds-table slds-table_bordered slds-table_striped slds-table_cell-buffer slds-table_fixed-layout">
<thead>
<tr class="slds-text-heading_label">
<th scope="col">
<div class="slds-truncate" title="Name">Name</div>
</th>
<th scope="col"><div class="slds-truncate" title="Name">Scale</div></th>
<th scope="col"><div class="slds-truncate" title="Name">Credit Funding</div></th>

</tr>
</thead>
<tbody>
 <!-- Use the Apex model and controller to fetch server side data -->
<aura:iteration items="{!v.Banks}" var="bank">
 <tr>
<th scope="row">
<div class="slds-truncate" title="{!Bank.Name}">
<!-- Bank name is linked to the Salesforce record page -->
<a href="{!'/lightning/r/Bank__c/'+ Bank.Id + '/view'}" target="_blank">{!Bank.Name}</a></div>
</th>
<td><div class="slds-truncate" title="{!Bank.Scale__c}">{!Bank.Scale__c}</div></td>
<td><div class="slds-truncate" title="{!Bank.Credit_Funding__c}">{!Bank.Credit_Funding__c}</div></td>
</tr>
</aura:iteration>
</tbody>
</table>
</aura:component>
2. Click on Controller in the Component section on right side and copy the below code.
({
doInit: function(component, event, helper) {
helper.getBanks(component, event, helper);
}
})
3. Click on Helper on the right side and copy the below code.
({
      // Fetch the banks from the Apex controller and assign the data to banks list declared in our component
      getBanks: function(component) {
      var action = component.get('c.getBanks');
        // Set up the callback
        var self = this;
        action.setCallback(this, function(actionResult) {
        component.set('v.Banks', actionResult.getReturnValue());
 });
        $A.enqueueAction(action);
}
})
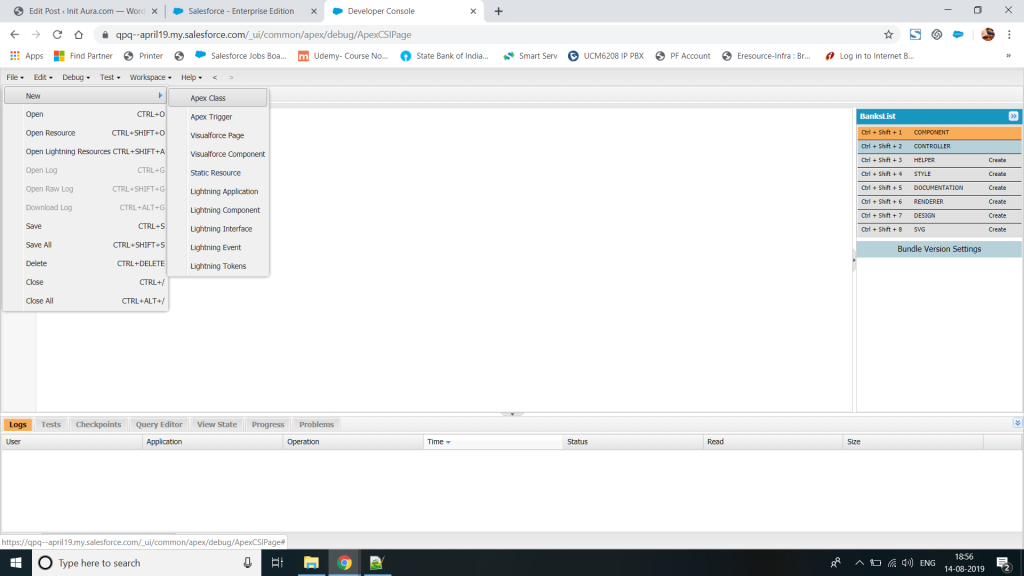
4. Create a new Apex Class and name it as BankController. Copy the below code.
public class  BankController {
       @AuraEnabled
       public static List<Bank__c> getBanks() {
         return [SELECT Id, name, Scale__c, Credit_Funding__c FROM Bank__c];
       }
Save the Class, Helper, Controller and Component as we created in above steps.
Now to see the result of our hard work, we will add the component to a tab called BanksList.
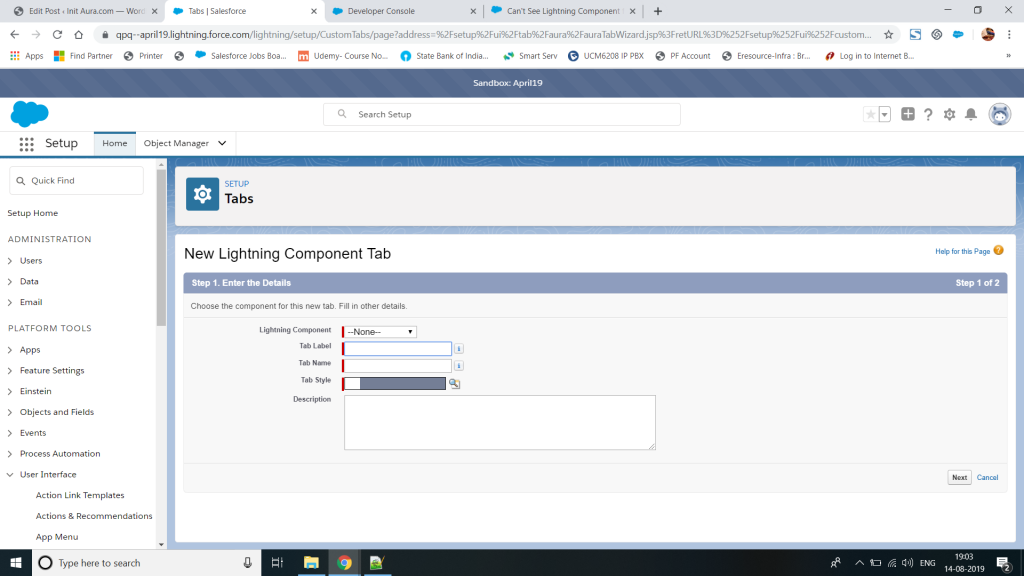
5. Go to Tabs in Setup and Create a Lightning Component Tab. Name it BanksList.
6. If you have added “implements=”force:appHostable” to your component in the first line, the component will be visible. Select the component and save the tab.
Now open the tab and you will be able to see all the bank records in tabular format.
The next post shows how to filter these records based on user input.