You have enabled web to lead for Salesforce. You are getting great leads from your website and your sales team is happy to be getting them directly on Salesforce.
A new requirement comes to you to add an upload attachment option to the web page. Well, that’s easy. The web designer can do it in a jiffy. But how do get that file to Salesforce, where the Sales users can view and access the files.
There are two solutions to the above requirement:
- When the customer submits the form, upload the attachment to the web server. Generate a link and save the link to Salesforce lead records. Your users can now click the link and access the file. If needed they can save the file to their local system as well.
- Send the file to Salesforce and attach it in Attachments section on the lead page.
Solution 1 is far more simpler and I would say recommended. First not much changes are required to the code of the Html page. Two your Salesforce storage is not consumed which is frankly, quite expensive.
We will explore the first solution in this post. We will take up the second solution in another post.
Steps to upload file attachment with Web to Lead
1. Create URL field called “File Link” on Lead object in your Salesforce org. Keep the field Id for later use. (Address bar will have the URL like the following: https://cs6.salesforce.com/00N6F00000XMXyz?setupid=LeadFields, 00N6F00000XMXyz becomes your field Id)
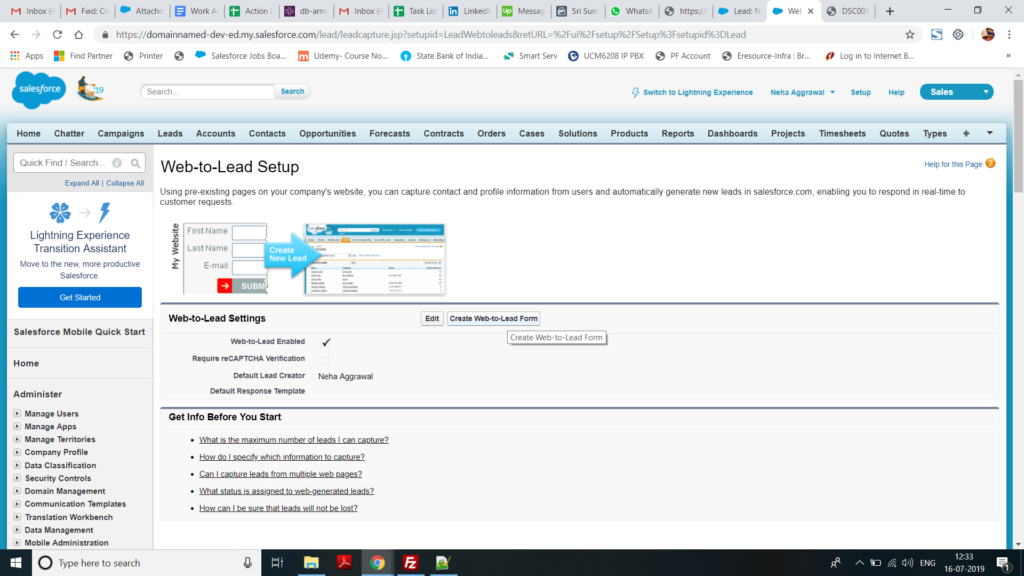
2. Create Web to Lead in Salesforce and copy the Html code in an editor. Follow this link to create Web to Lead in Salesforce.
3. This is how the web to lead code generated by Salesforce should look like:
!--  ----------------------------------------------------------------------  -->
<!--  NOTE: Please add the following <META> element to your page <HEAD>.      -->
<!--  If necessary, please modify the charset parameter to specify the        -->
<!--  character set of your HTML page.                                        -->
<!--  ----------------------------------------------------------------------  -->
<META HTTP-EQUIV="Content-type" CONTENT="text/html; charset=UTF-8">
<!--  ----------------------------------------------------------------------  -->
<!--  NOTE: Please add the following <FORM> element to your page.             -->
<!--  ----------------------------------------------------------------------  -->
<form action="https://webto.salesforce.com/servlet/servlet.WebToLead?encoding=UTF-8" method="POST">

<input type=hidden name="oid" value="<your-orgId>">
<input type=hidden name="retURL" value="http://www.google.com">

<!--  ----------------------------------------------------------------------  -->
<!--  NOTE: These fields are optional debugging elements. Please uncomment    -->
<!--  these lines if you wish to test in debug mode.                          -->
<!--  <input type="hidden" name="debug" value=1>                              -->
<!--  <input type="hidden" name="debugEmail" value="neha.00x@gmail.com">      -->
<!--  ----------------------------------------------------------------------  -->

<label for="first_name">First Name</label><input  id="first_name" maxlength="40" name="first_name" size="20" type="text" /><br>

<label for="last_name">Last Name</label><input  id="last_name" maxlength="80" name="last_name" size="20" type="text" /><br>

<label for="email">Email</label><input  id="email" maxlength="80" name="email" size="20" type="text" /><br>

<label for="company">Company</label><input  id="company" maxlength="40" name="company" size="20" type="text" /><br>

<label for="city">City</label><input  id="city" maxlength="40" name="city" size="20" type="text" /><br>

<label for="state">State/Province</label><input  id="state" maxlength="20" name="state" size="20" type="text" /><br>

<input type="submit" name="submit">

</form>
4. Edit the “Form action” line, line 18 in the above code to:
<form action="Fileupload.php" method="POST" enctype="multipart/form-data">Also, add the following line before submit:
<input name="file" type="file">5. Create FileUpload.php with the following code:
<?php
/*******Settings for Web Server******************/
//Please add the below settings in another file and add them here using include
$domainname = "Replace with domain name here"; //Will be useful to generate the file link
$domainhost="Replace with Host";
$domainuser="Replace with your username";
$domainpass="Replace with your password";
$homelink = "link to home directory"; // This is the parent directory in which public_html directory is contained. Will start with /home
$publiclink = "public_html/";
$savedfiledirectory="myfiles"; //folder in which files uploaded by customer will be saved
$destdir=$homelink.$publiclink.$savedfiledirectory;
$tmpName = basename($_FILES['file']['tmp_name']);
/*****Settings***********************/
global $publiclink;
$uploaded = false;
$conn =@ftp_connect($domainhost) or die ("Cannot initiate connection to host");
$login_result = @ftp_login($conn, $domainuser, $domainpass)or die("Cannot login");
ftp_pasv($conn, true);
@ftp_set_option($conn, FTP_TIMEOUT_SEC, 1000);
ftp_chdir($conn, $destdir);
$file = $_FILES["file"]["tmp_name"];
$remote_file = $_FILES["file"]["name"];
if(!@ftp_put($conn, $remote_file, $file, FTP_BINARY)){
$uploaded = false;
}else{
$uploaded = true;
}
@ftp_quit($conn);
@ftp_close($conn)
//Initialize the $query_string variable for later use
$query_string = '';
//If there are POST variables
if ($_POST) {
$_POST['<Replace with field Id of the File Link that we created in Step 1']=$domainname.'/'.$_FILES["file"]["name"];
//Initialize the $kv array for later use
$kv = array();
//For each POST variable as $name_of_input_field => $value_of_input_field
foreach ($_POST as $key => $value) {
//Set array element for each POST variable (ie. first_name=Arsham)
$kv[] = stripslashes($key).'='.stripslashes($value);
}
//Create a query string with join function separted by &
$query_string = implode ('&', $kv);
}
//Check to see if cURL is installed ...
if (!function_exists('curl_init')){
die('Sorry cURL is not installed!');
}
$curl_connection = curl_init('https://webto.salesforce.com/servlet/servlet.WebToLead?encoding=UTF-8');
//set options
curl_setopt($curl_connection, CURLOPT_CONNECTTIMEOUT, 30);
curl_setopt($curl_connection, CURLOPT_USERAGENT,
"Mozilla/4.0 (compatible; MSIE 6.0; Windows NT 5.1)");
curl_setopt($curl_connection, CURLOPT_RETURNTRANSFER, true);
curl_setopt($curl_connection, CURLOPT_SSL_VERIFYPEER, false);
curl_setopt($curl_connection, CURLOPT_FOLLOWLOCATION, 1);
//set data to be posted
curl_setopt($curl_connection, CURLOPT_POSTFIELDS, $query_string);
//perform our request
$result = curl_exec($curl_connection);
//show information regarding the request
print_r(curl_getinfo($curl_connection));
echo curl_errno($curl_connection) . '-' . curl_error($curl_connection);
//close the connection
curl_close($curl_connection);
?>
6. Upload the php file to same directory as your web form. You should now see the link of the uploaded file on Salesforce Lead page.
You might also like to read: Uploading attachment through Rest API in Salesforce.