In this post, we will see how to create a screen flow for your community users, choose the audience and also update the associated contact when the users engage with your flow.
I will provide step by step information with screenshots in this post, but a video is also attached to save you from the long reading. Happy viewing 😉
Let’s create a simple 3 step screen flow. We will be asking our users to provide feedback on a charity event.
Step 1: Create an Event feedback object.
It has 6 custom fields:
- Lookup to Contact,
- Comments field which is a text area
- Picklist fields: Overall Experience(Very Dissatisfied, Dissatisfied, Neutral, Satisfied, Very Satisfied)
- Catering Quality(1, 2, 3, 4,5)
- Value for Money( 1, 2, 3, 4,5 )
- Courtesy of Staff(1, 2, 3, 4,5 )
Step 2: Let’s start with the flow.
Setup->Flows->Screen Flow->Create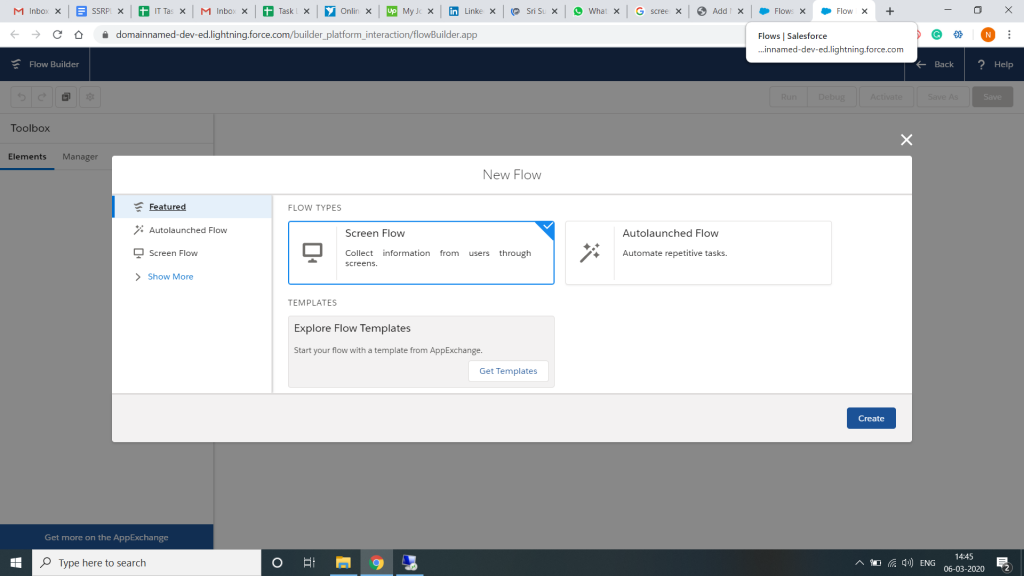
Screen 1
Drag and drop the Screen element to the canvas. This will open the configuration video for the screen.
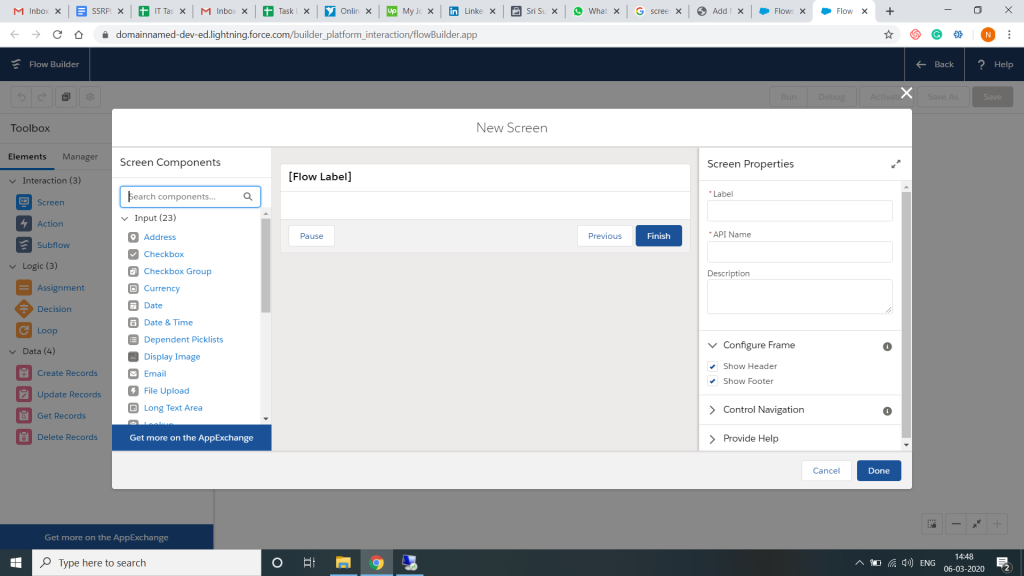
Give a name to the screen and drag radio button component to the screen. Add the label for the radio button component.
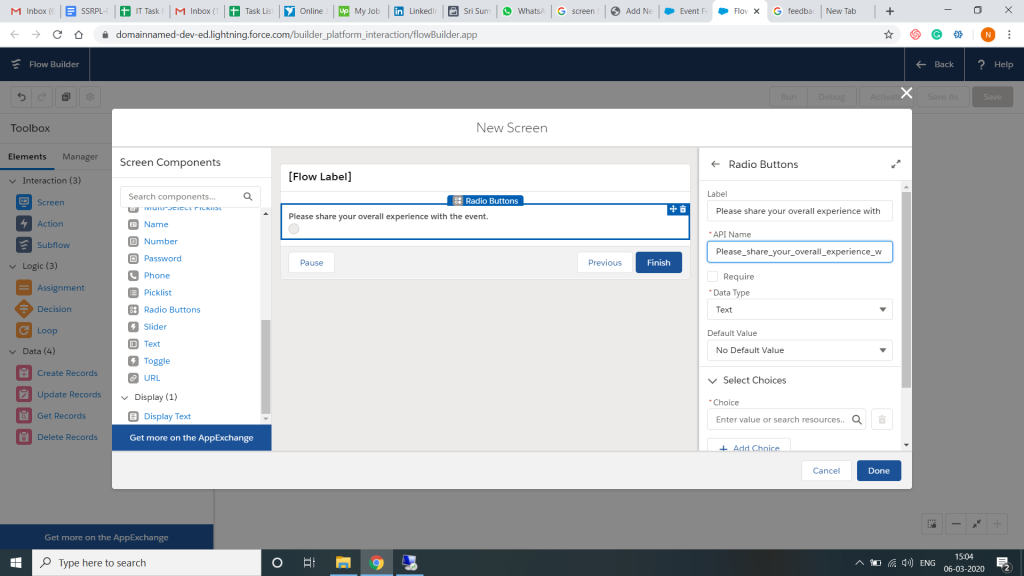
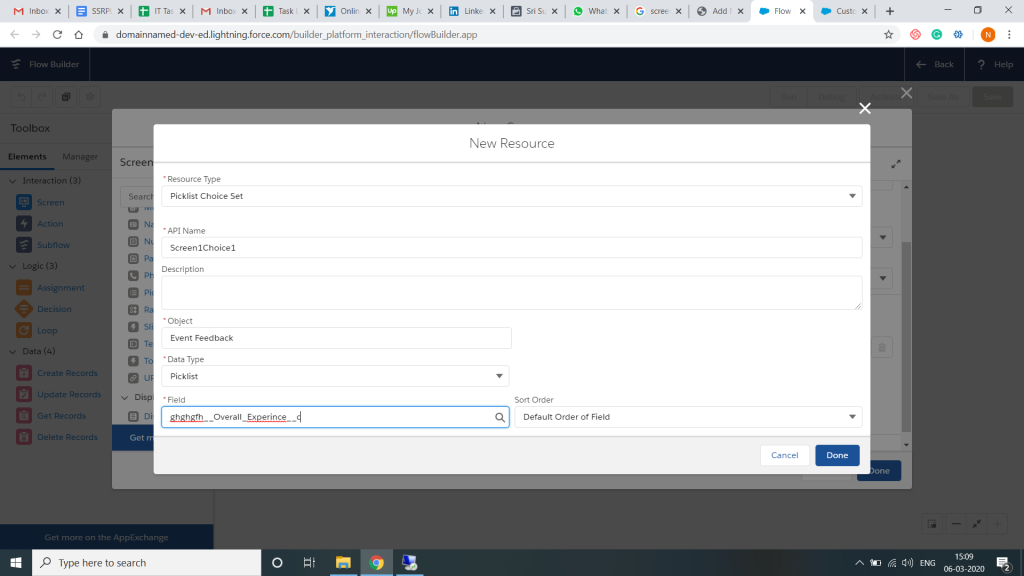
Next, we will add a resource for the radio buttons. In the Select Choices section, click on the magnifying glass in the Choice field and select New Resource.
Choose Picklist choice set in the Resource Type, give it a name and description and select our custom object Event Feedback. Select data type as picklist and select the Overall Experience field. Click Done.
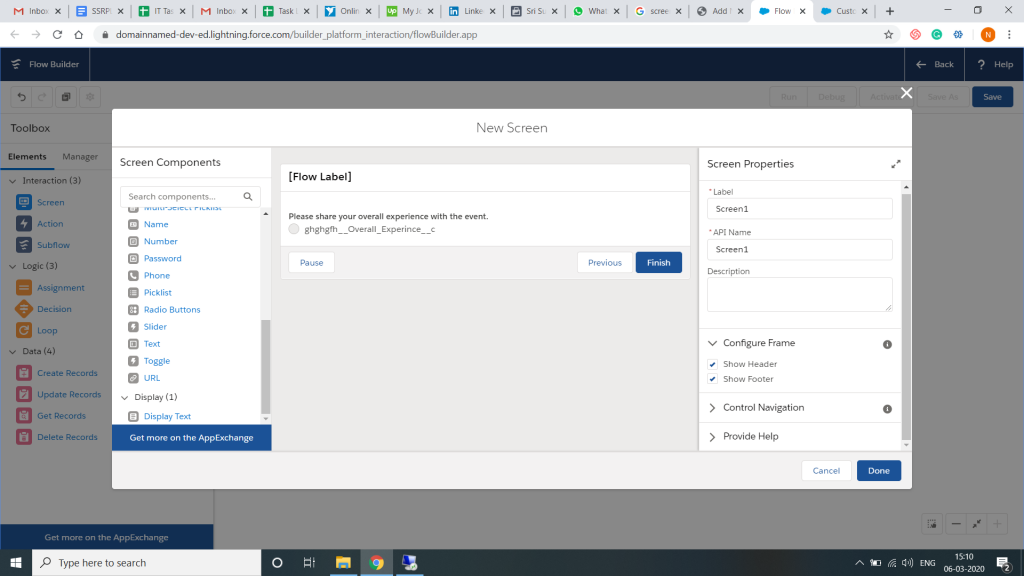
This is how the first screen will look like:
Screen 2
Attach the start element to the first screen. Drag and drop another screen and add the label to the screen.
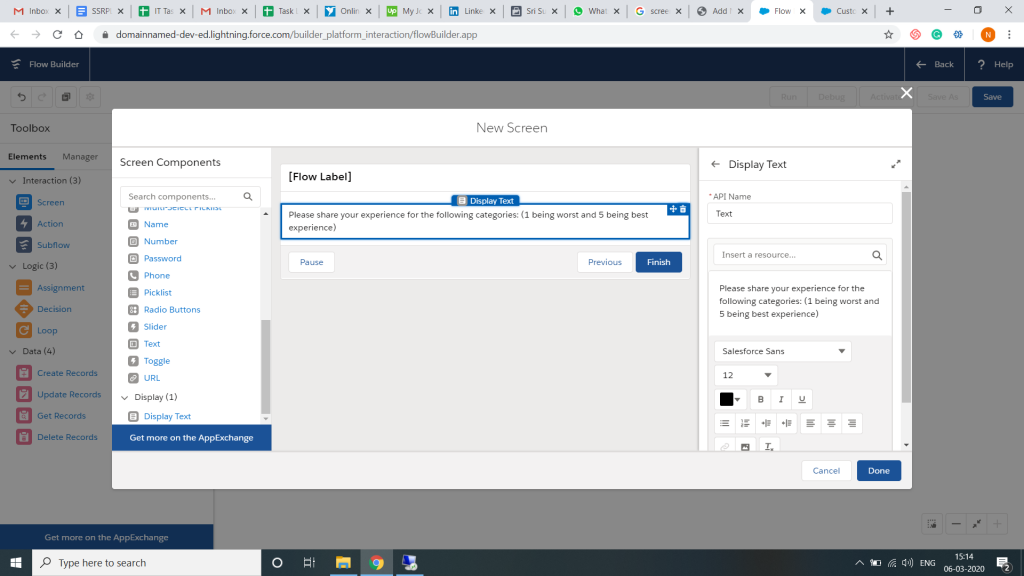
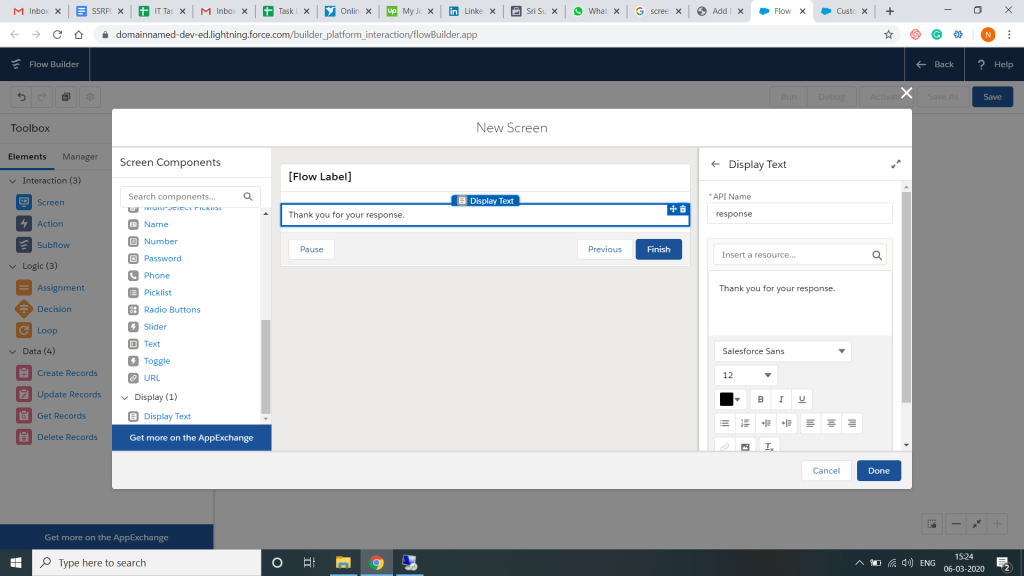
Drag a ‘Display Text’ component and add the text:
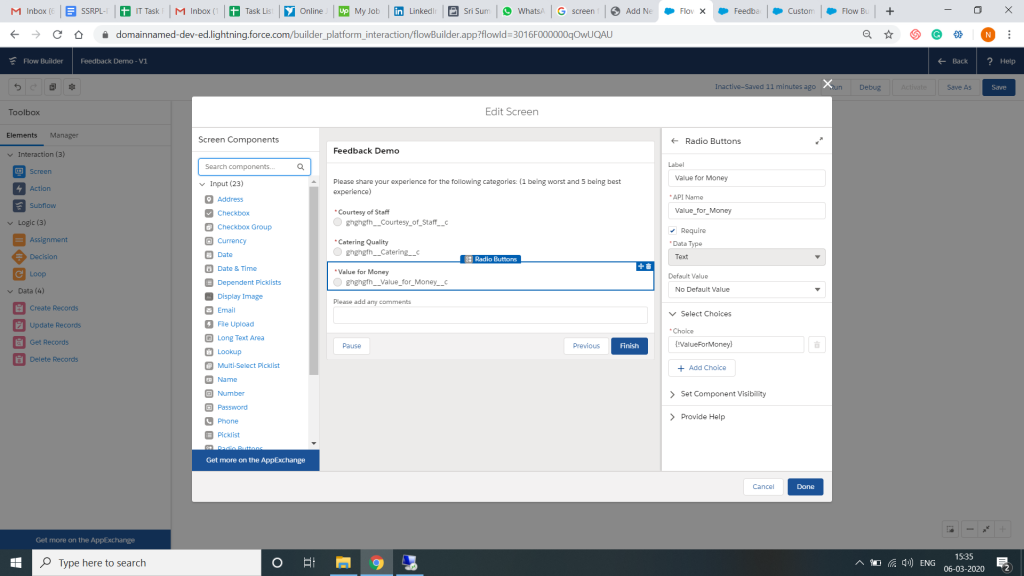
Now drag 3 radio components and associate the resources with the respective fields: Catering Quality, Value for Money and Courtesy of Staff. Follow the same steps as in first screen.
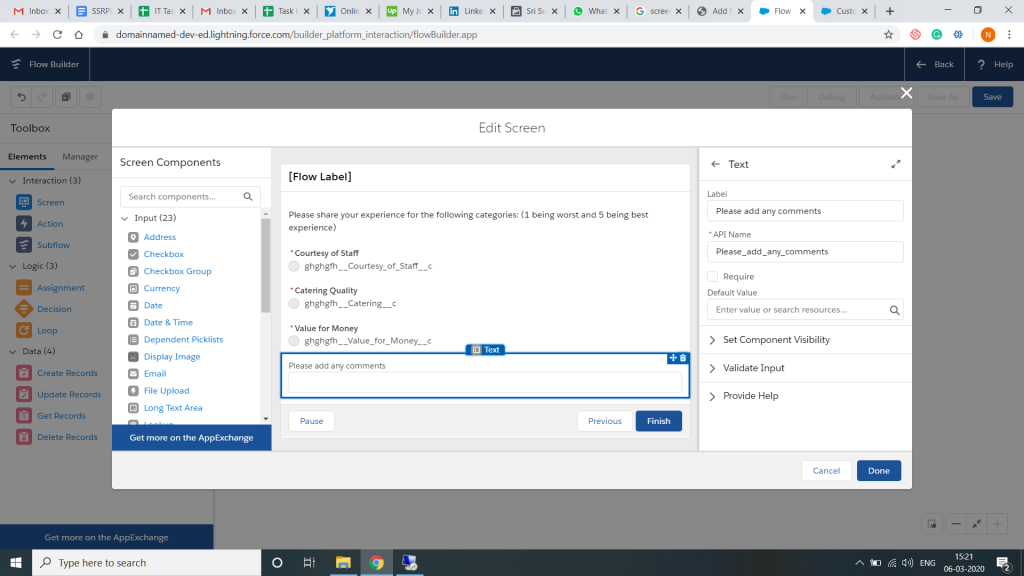
Finally, add a text component for comments. Give it a label. This becomes our second screen.
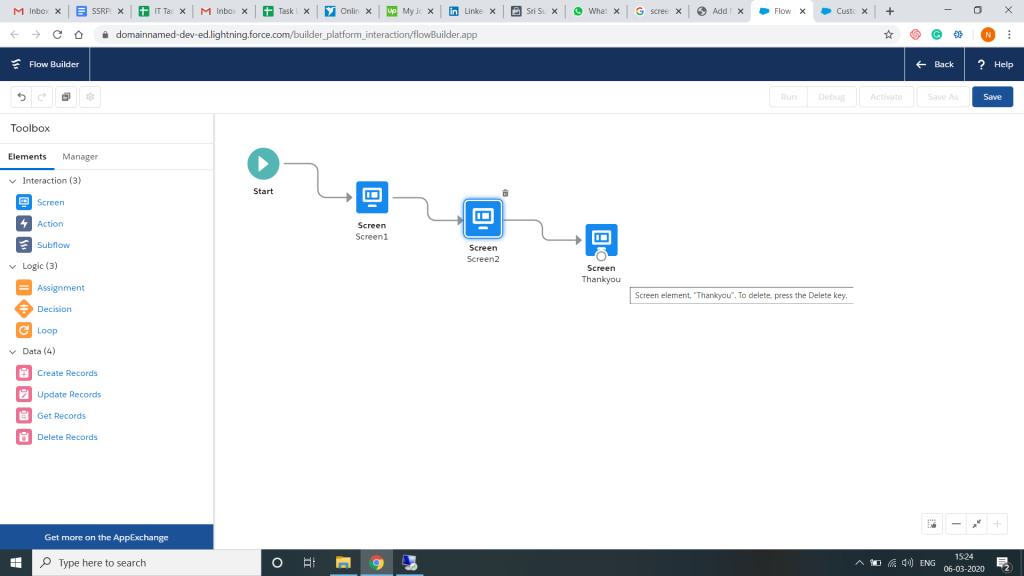
Screen 3
Add one more screen for thank you text. Just add a Display Text component for thank you note.
This is how our flow will look like:
We will add one more step after the second screen. Before this, add a resource from the manager section.
Choose Resource Type as Formula, add API name as RecordId and Data Type as text.
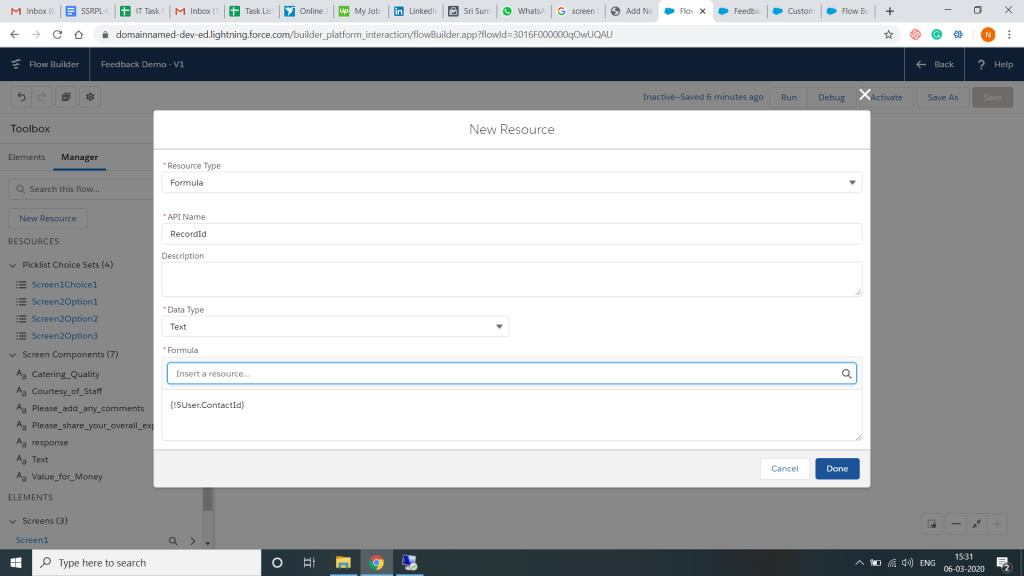
If you notice the formula above, we have added it as “{!$User.ContactId}”. When a community user logs in to our site, this formula will get the associated Contact Id and assign it to the resource.
This will help us to create the event feedback record for the appropriate Contact.
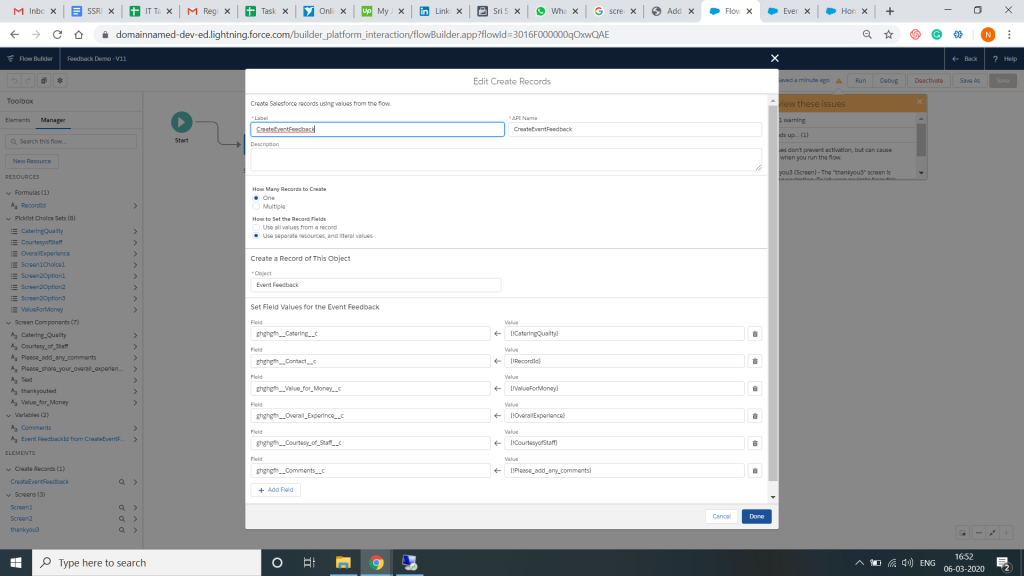
Create Records Component
Next, drag the ‘Create Records’ element to the canvas. Add a name and ‘use separate resources and literal values’ in How to set the Record Fields.
Select the Event Feedback object and map our fields to their respective resource (picklist choice set). Note that we have mapped contact lookup field on our object to the RecordId resource.
Connect the second screen to the Create Records screen. Connect the Create Records screen to the thank you screen. Our flow is now complete. Save and run to see if it’s working fine. Activate if all looks good.
Step 3: Add the Flow to the Community.
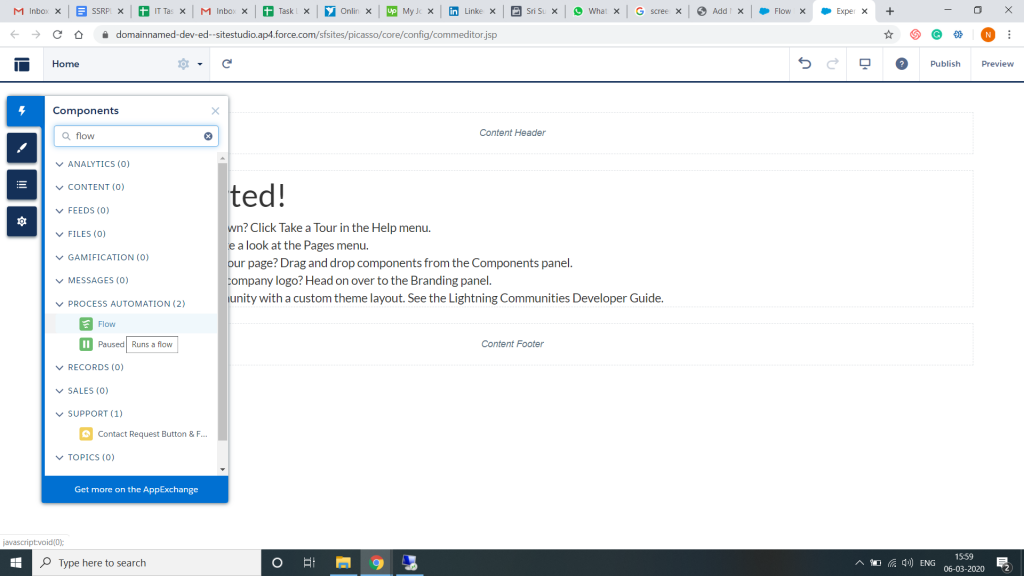
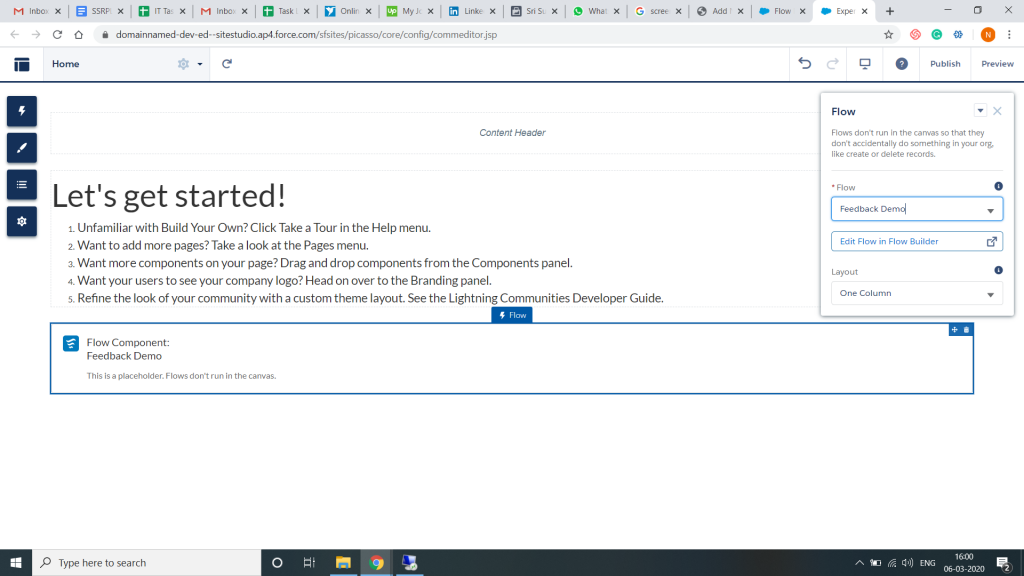
Open the Builder page from the setup. Drag and drop the flow component to canvas from the left side components section (as shown above) and select our flow from the drop-down on the right.
Now, we want to make sure that only users who attended the charity event see our flow.
We have a checkbox on our contact record called ‘Charity Event’ which signifies whether the user attended the event or not. We will use this field to assign an audience to our flow.
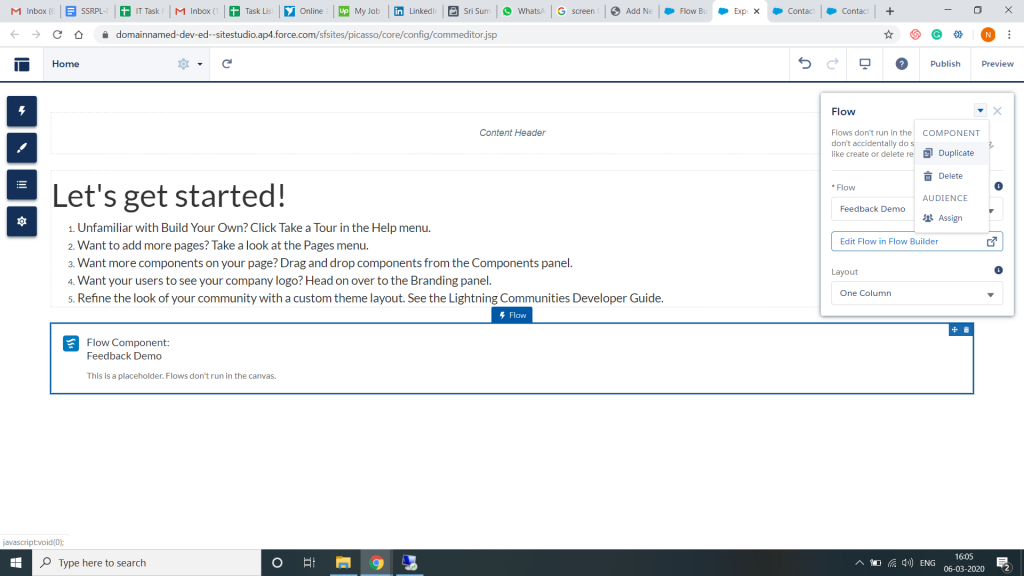
Step 4: Assign an Audience
Click on the below arrow in the flow configuration window above to open the drop-down and click on assign:
Click on New Audience, choose a name for our audience and select the criteria.
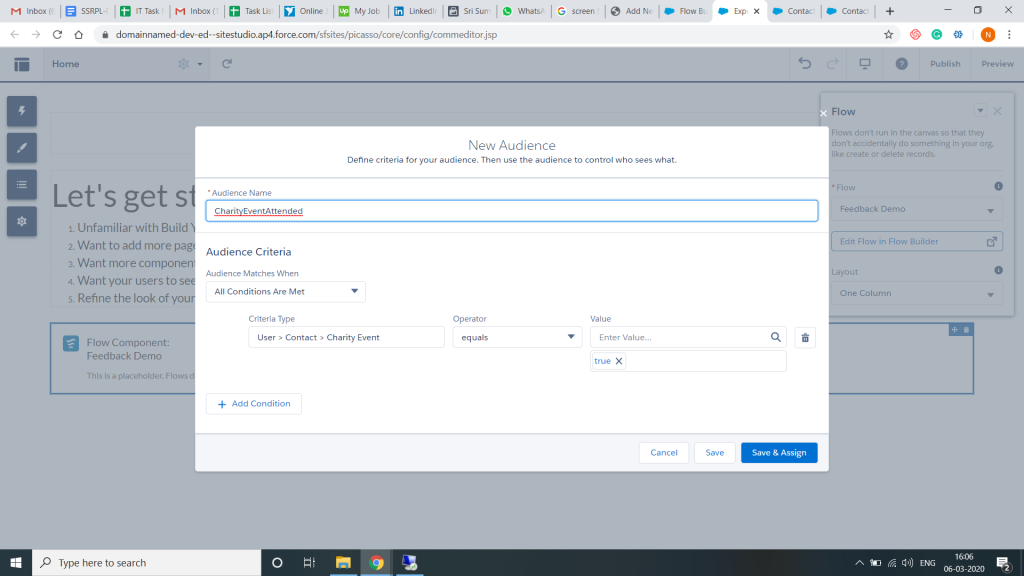
Finally, click on the ‘Save & Assign’ button. Once done, click on the ‘Publish’ button to make our flow live. Now only users who attended the event will see our flow.
Note: You will need to give edit and create permission on the Event Feedback object to the community user profile. You can use screen flow to collect feedback, collect surveys or even ask for ideas.
Read more on flows here.